Slimming World Pasta Bolognese
This is a really simple and easy recipe to make and is definitely a family favourite.

Ingredients:
frylight or a low calorie cooking spray
1 large onion,finely chopped,
3 garlic cloves, crushed
half tsp dried chilli flakes
half tsp ground cinnamon
1 heaped tsp dried basil
1 large carrot, chopped or finely grated
handful of mushrooms finely chopped
1 yellow pepper finely chopped
500g extra-lean minced beef
2 x 400g cans chopped tomatoes
200g passata
1tsp sweetener
salt and freshly ground black pepper
Recipe:
- Spray a large frying pan with frylight and add the onion, garlic and the chilli flakes. Cook until the onions are softened and stir occasionally
- Add the cinnamon, basil, carrots, peppers, mushrooms and the minced beef, fry this for roughly 4 minutes until the minced beef is browned.
- Now add the tomatoes, passata and sweetener, season and stir all the ingredients together. Bring it to the boil then cover and simmer over a low heat for about 30 minutes.
- Whilst this is cooking on a low heat make the pasta according to packet instructions.
- Serve together and add cheese if you wish to.
This roughly takes about 45 minutes to make and serves 4 people.
This recipe is free on the extra easy slimming world plan (if using cheese make sure you measure using healthy extra A or syns)
We also had our own homemade garlic bread using 1 slice of wholemeal bread (healthy extra B) and a couple of sprays of garlic frylight to have alongside our pasta bolognese. Its quick and easy to make simply spray the bread 2 or 3 times with the garlic frylight and pop in the toaster.
And We’re in! A Tour of our House
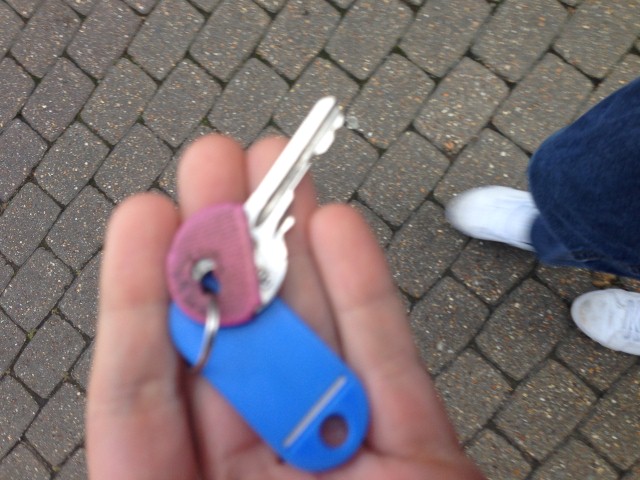
Well on Friday 26th September 2014 we moved in to our new home together. I picked up the keys from the estate agents early evening and we both did a car journey each full of essentials for the evening.
Operation move-in!
We ‘camped’ the first night on a blow-up bed… which was fun and games to say the least. (Ended up sleeping on the floorboard by 4am as the ‘popper’ came out.) The whole weekend was hectic but we managed to get the move done over the course of the weekend with the help of renting a van. We had an amazing amount of help from family, including my Mother, Alex’s Mum and Dad, Alex’s Sister and my Brother. All helped come do a stint on either the Saturday or Sunday at-least. So a huge thank you for your time and help with helping us to settle. – We even had time on Sunday to start decorating!
Let the cleaning begin…
Alex and her Sister Jo had the unthinkable of cleaning the kitchen from top to toe and all their hard work paid off! There must of been a centimetre’s worth of grease and old food debris on the inside of the cooker, hobs and surfaces. But with the help of some great products like Oven Pride’s Bags and Mr Muscle’s Oven Cleaner even the hygiene standards would of given us a 5 star rating. Whilst ‘Kim and Aggie’ were cleaning the kitchen my Mum (Christine) was upstairs cleaning the bedrooms as well as the lounge.
A little thanks…
Just before we get started, I want to say a huge thanks to everyone who helped us over the weekend, also not forgetting my Dad (Keith) & Step-Mum (Sandra) for the two sofas and tumble dryer! (photos to come!). Reg & Lorraine (Alex’s Parents’ Neighbours) for their old Fridge, Freezer, small table & chairs and the cookery & cutlery sets. Mum & Step-Dad (Ken) for the ladder, cleaning products and Dyson hoover. Alex’s parents (Katherine & Mark) & sister Jo for borrowing their tools like the lawn mower and decorating tools to help get the house in a liveable state.
A Little tour of the house… and Where The Story Begins
Hallway
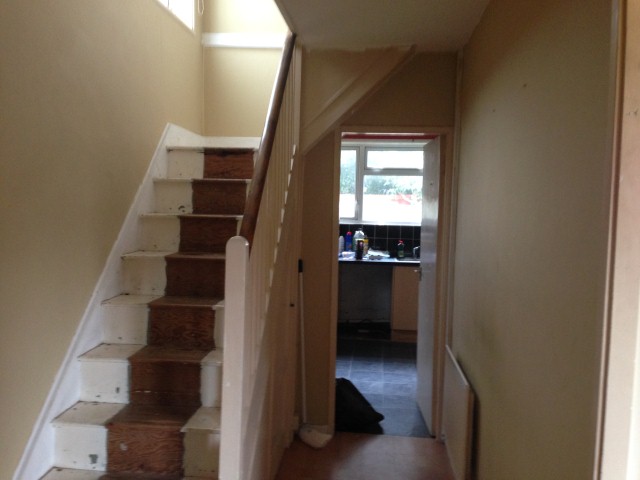

The front door is actually dirty, but this photo makes it out to be clean. However I’ve cleaned the inside of the front upvc (PVCu) door using a cleaner called Thompsons. Easily available from stores like B&Q for no more than £7. – Worth it as I’ll be doing all the windows later on.
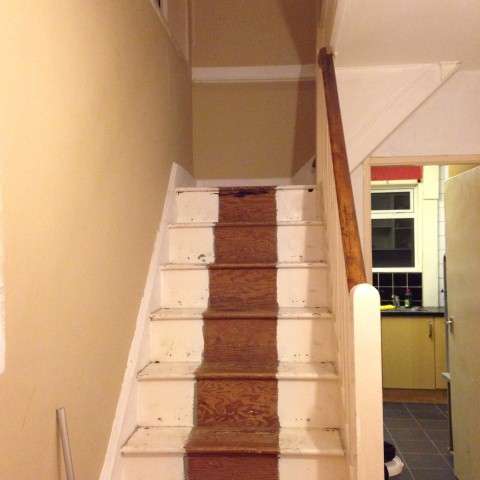
This is the first room we’ll be starting on as it’s the first room you step into from outside the house and we just want to get that feeling that everytime you leave or enter the house it feels complete. We’re currently in the middle of preparing and painting areas and have decided to go for ‘Soft Almond’ colour. The banisters, skirtings and door frames are heavily covered in several layers of white glossy which needs to come off.
Living Room

Comes with nice wooden flooring (not well put together though) which we’ll look to carpet at a later date. Again all the rooms you can see are heavily wallpapered. We’re going to remove the Gas fire(it’s broken anyway) and try and make something of the fireplace (tiled) behind and paint it and make it a feature with the little budget we have.
Dining Room

Our smallish box shaped dining room. Could get a table in here that’ll easily fit 6 people around so not a bad size. Currently used as our ‘inside utility room’ for the time being. And the wallpaper has been stripped off the first weekend we moved in by Alexandra’s niece, Brooke.
Kitchen


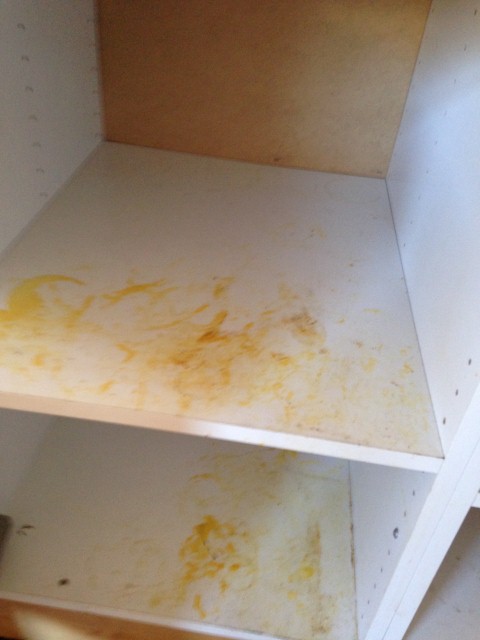
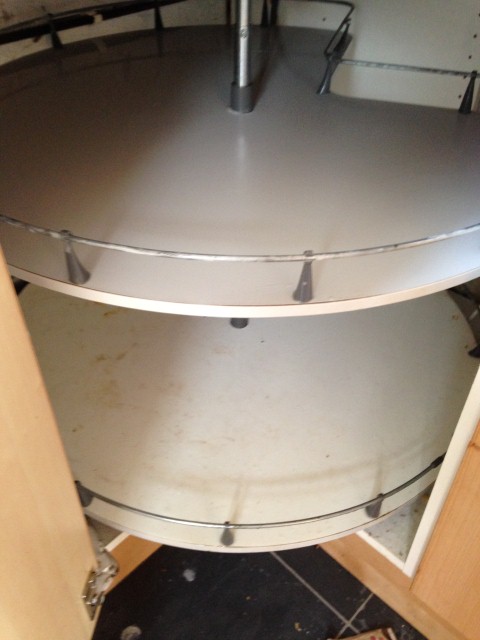
The kitchen photos (bar the inside cupboards) make it out to be clean. But there was about 5mm of grease and grime all over the units, plug switches, light switches and tiles. Nothing Mr Muscle and a steam cleaner couldn’t sort out though. The kitchen we’ll leave until last to sort out. After a good clean it’s in good condition, ofcourse there’s some patching up to do with fixing things here and there but what room doesn’t need a bit of TLC?
Landing (Stairs)
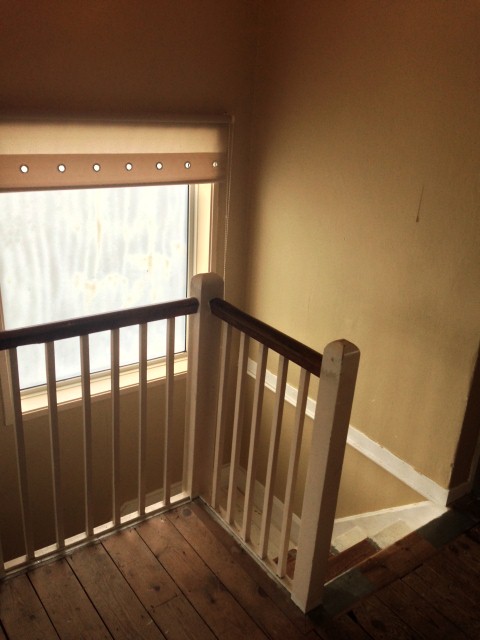

This is probably my favourite feature of the house is the top landing. The way the stairs curves round and the banisters after this room has had it’s paint job and been carpeted I think this will really stand out. I also quite like that some of the central heating pips run along under the floorboards so it’s lovely and warm to walk along in the morning!
Master Bedroom
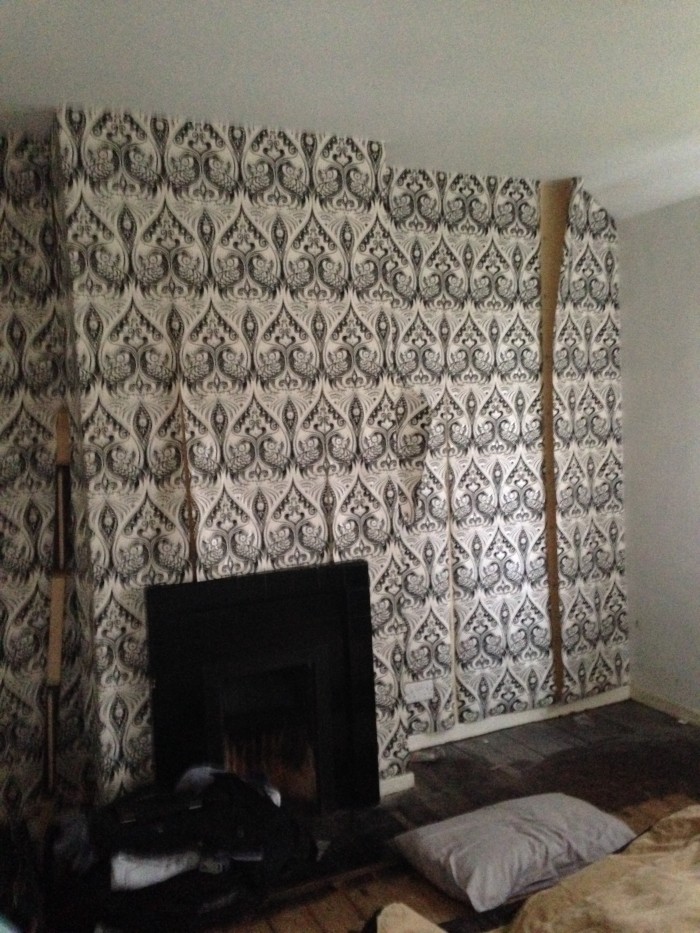
Excuse the photo, this was the first night we moved in and had a blow-up bed… deflated might I add!! We quite like the fireplace, but after buying a few units and got our lovely Oak double bed in there is really little room left to see this.For time being this room is liveable until the more social areas are complete and see what we want to do with this feature. – Again the hideous (not to our taste) wallpaper will be coming down.
Double Bedroom
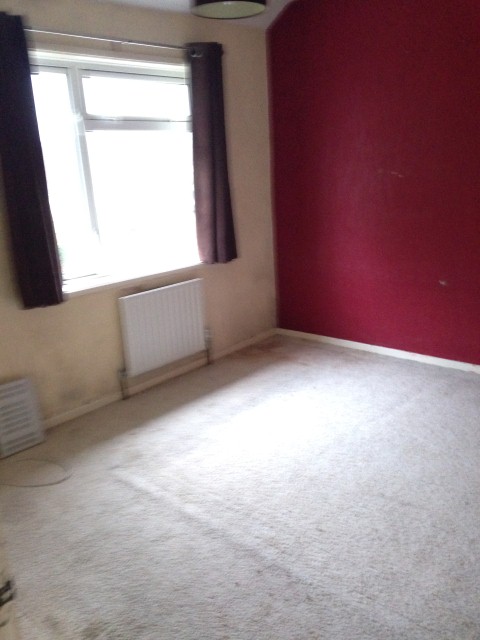
For time being, this will be left as it is, one of the only rooms where it has carpet, or fabric laid over. But we’re using it for storage until we’ve fully unpacked.. which will probably be in two years time knowing me!!
Single Bedroom

AKA my office! – As you can see the windows on the front side of the house need treating/replacing. – Will be done when funds allow.
Toilet

The toilet is in a good condition, just needs a toilet seat to be put on, which as of now I have put one on and looks the part.The tiling looks quote good here, but believe me it’s not.. and you’ll see why when you scroll down.
Bathroom
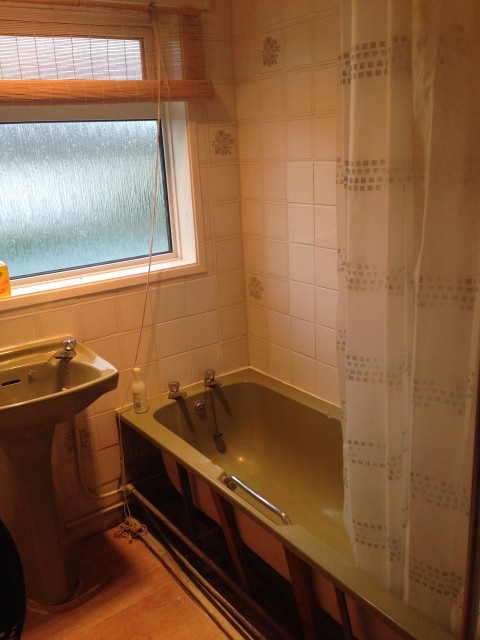
Last but not least… the bathroom, yes that lovely avocado suite which was so huge back in the 1970’s .. maybe? My grandparents had the same colour a long time ago so it must of been popular! This is the room we’re going to do after we’ve finished the hallway, it’s just not pleasant to have a wash or shower in. The tiling is ridiculous.
see below..


Slimming World Stuffed Chicken Bacon Stack
I’m not usually the recipe chef in the house but every now and then I’ll be adding a few of my recipes that I/we try out. Whether it’s a master-piece or disaster!
Stuffed Chicken Bacon Stack with Vegetables

Information:
Serves: 4
Preparation time: 5-10 minutes
Cook Time: 20-25 minutes
Total Time: Roughly 30 minutes
Syns per serving: FREE
What you’ll need (ingredients):
- 4 chicken breasts
- 4 garlic cloves, peeled & crushed
- 2 tbsp finely chopped tarragon
- 2 tbsp fat free cottage cheese blended until smooth
- 1 tsp finely grated lemon zest
- Salt
- Freshly ground black pepper
- 4 strips of lean turkey bacon (all visible fat removed)
- Mixed Veg of your choosing (Carrots, Peas, Swede whatever you like!)
Recipe:
- Preheat the oven to 425°F/220°C.
- Peel and cut the garlic cloves into small pieces, then put the cottage cheese and tarragon plus the grated lemon zest together mix within a bowl.
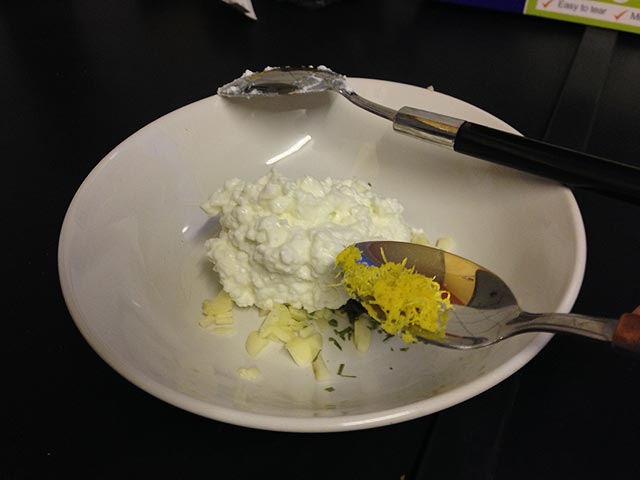
- Make a cut length-wise down the side of each chicken breast to make a pocket – taking care not to cut right through As this will prevent any of the filling from escaping.
- Spoon the filling in the chicken pockets and then wrap them up using the bacon strips.

- Secure with a toothpick and cook in the oven for 20–25 minutes or until the bacon is lightly browned and the chicken is cooked through. Remove from the oven and serve immediately with steamed/boiled vegetables.
I personally thought this recipe was nice however I believe there was too much garlic cloves used as it was over powering on some of the other flavours. It was light and you can’t go wrong with having chicken and bacon together! I rate this dish 6/10.
As you can see I added roasted courgettes which were diced and then spray with fry-light.
Enjoy!
